Install Webmin

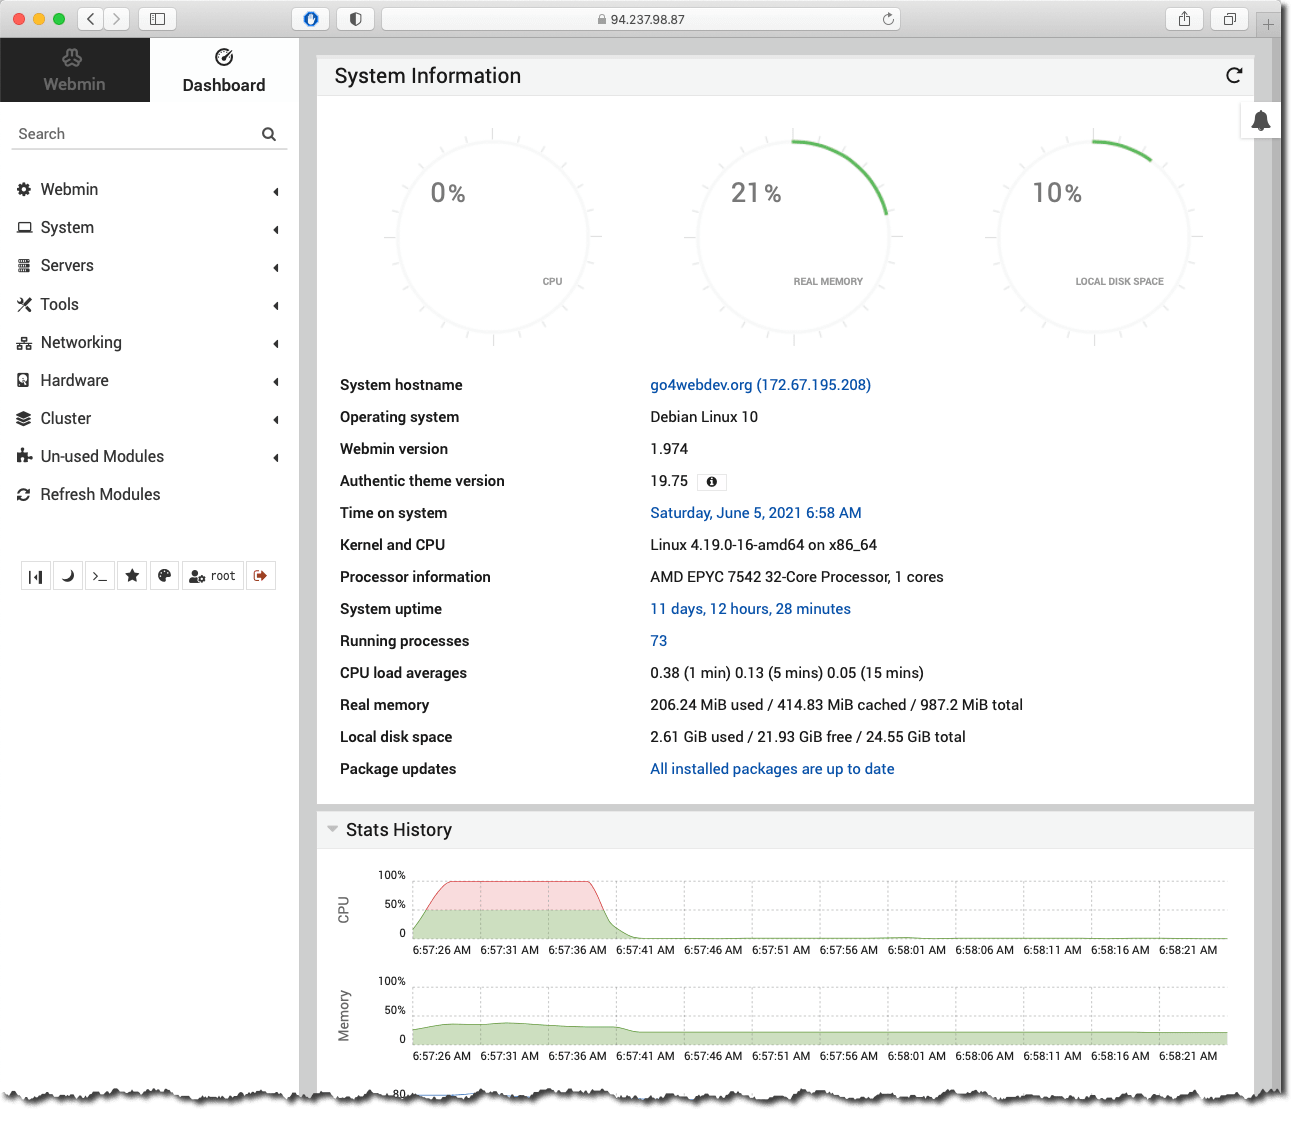
Webmin is a web-based interface for VPS admin. You can set up user accounts, Nginx, DNS, file sharing and much more. Webmin removes the need to edit Unix configuration files like /etc/etc/ and lets you manage a system from the console or remotely. I look at Webmin as a hybrid between a simple "finder" or explorer, a FTP and a monitoring software. You can manage your VPS and upload files and Debian updates.
1. Open Terminal and log in to the VPS
First time you connect to the VPS, you have to use your Terminal of choice. Enter your ssh command and your VPS password that you got from Upcloud (or other vendor). Then use the Terminal to install Webmin. You may need the Terminal for installing other stuff, but most commands can be done by the built-in "terminal" in Webmin. You can even store "one-click-command" in Webmin (Like restart services).

ssh [email protected] (replace this IP address with your-vps-ip and enter VPS password)
Make it a habit to run this command before and after any installation. In order to keep everything updated.
sudo apt update && sudo apt upgrade
2. Install curl
This is a tool that makes many Terminal interactions easier.
sudo apt install curl
sudo apt update && sudo apt upgrade
3. Install Webmin
These commands are picked from Webmin source. Please get your code from there for latest install.
curl -o setup-repos.sh https://raw.githubusercontent.com/webmin/webmin/master/setup-repos.sh
sh setup-repos.sh
Install Webmin
apt-get install webmin
And finally update everything...
sudo apt update && sudo apt upgrade
4. Log in to your VPS
You should now be able to login to Webmin at the URL https://your-vps-ip:10000 - with some initial http warnings (ignore).
Login with user "root" and the "password" submitted from the VPS vendor.